Floral Spring Illustrations
A Designer’s First Look: Light, Lively, and Just Detailed Enough
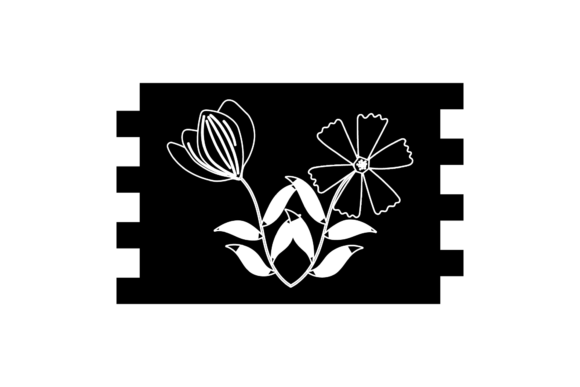
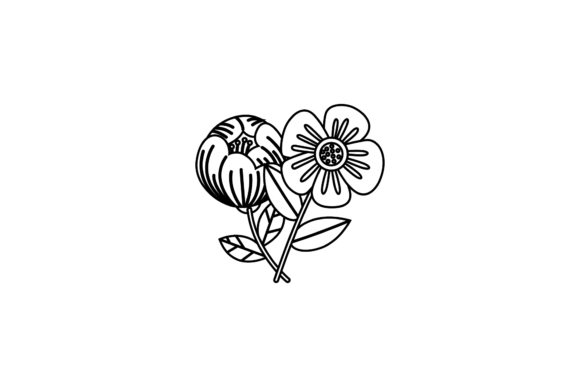
When I opened Floral Spring Illustrations for the first time, I didn’t see a generic icon set—I saw a collection that breathes. Soft curves, balanced negative space, and a gentle rhythm between blossoms and stems make this feel like a hand-drawn sketch refined for real-world making. It’s not overly botanical or hyper-realistic; it’s approachable, cheerful, and quietly confident—exactly the kind of graphic that translates well into embroidery without demanding perfection from the stitcher or the fabric.
Why This Works So Well on a Custom Tote Bag (My Real-World Test)
Last week, I used Floral Spring Illustrations to embroider a medium-sized tote for a local boutique’s spring launch. I chose one central motif—about 4" wide—and placed it just below the top seam. The result? Clean satin-stitched petals, smooth fill-stitch leaves, and subtle running-stitch vines that held their shape beautifully across the canvas’s slight texture. Customers commented on how “fresh” and “handmade-but-polished” it looked—not stiff, not fussy, just right. That’s the sweet spot: a design that feels intentional but never intimidating.
Where It Shines in Real Embroidery Projects
- Custom apparel: Works especially well on sweatshirts and relaxed-fit tees—its open layout avoids dense stitch buildup, reducing puckering on knits.
- Tote bags & tea towels: The 1920 × 1280 px canvas gives plenty of breathing room for resizing without losing clarity—even when scaled down to 3.5" for a pocket detail.
- Baby embroidery & nursery decor: Soft edges and rounded forms read as gentle and safe—ideal for onesies, burp cloths, or pillow covers where sharp lines would feel out of place.
- Embroidered patches: Clean outlines and moderate detail mean clean cut edges and stable backing—no fraying corners or thread nests in tight curves.
- Holiday and wedding gifts: Not overtly seasonal, so it layers easily into Easter baskets, baby showers, or spring weddings without feeling dated by May.
Where to Proceed with Thoughtful Stitching
Floral Spring Illustrations is versatile—but not magic. Here’s where your judgment matters:
- Small hoop sizes (under 4"): Some motifs include delicate vine tips or clustered buds. If stitching at 2.5", test first—you may need to simplify or omit one element.
- Textured or stretchy fabrics: On terry cloth towels or lightweight jersey, use medium-weight cutaway stabilizer and reduce stitch density slightly. The design’s flow benefits from stability, not stiffness.
- Dark or black fabric: The original PNG and JPG files are light-background only. Flip to grayscale mockups before finalizing thread colors—some pale yellows or mint greens may vanish without contrast.
- Caps and curved surfaces: Avoid placing the full horizontal layout across a cap front. Instead, rotate and isolate one floral unit—it reads better and stitches more evenly over the curve.
- Frequent-wash items (baby clothes, kitchen towels): Reinforce satin-stitched petals with a light underlay and avoid ultra-thin stem lines—those can wear faster than broader fill areas.
How It Elevates Your Handmade Product—Without Saying a Word
What makes Floral Spring Illustrations valuable isn’t just its prettiness—it’s how it supports your brand’s credibility. When customers see consistent, well-proportioned stitching on an Etsy-sold apron or a craft-fair pillow cover, they don’t think “nice flower.” They think, “This person knows what they’re doing.” That perception builds trust, increases perceived value, and encourages repeat orders. As a designer who also sells digital embroidery files, I’ve watched buyers choose sets like this over busier alternatives—not because they’re simpler, but because they leave room for the maker’s voice to come through.
Practical Notes Every Embroidery Designer Should Check Before Stitching
- Test on scrap fabric first—especially if using textured cotton, linen blend, or performance knit.
- Review stitch density in your embroidery software. Some versions of the design may layer fill and satin too closely—adjust spacing if needed for breathability.
- Confirm hoop size compatibility. While the vector formats (AI, EPS, SVG) scale freely, your machine’s maximum hoop area determines how large you can stitch without splitting.
- Inspect small details at actual stitch size. Zoom in on petal edges and vine junctions—do they convert cleanly to satin or running stitch? Or do they risk “stitch chatter”?
- Try black-and-white mockups to assess contrast and silhouette strength before choosing thread colors.
- Compare light vs. dark fabric backgrounds using your PNG or JPG previews—this reveals where highlights or shadows might get lost.
- Use appropriate stabilizer: medium cutaway for woven fabrics, tear-away + light cutaway for knits.
- Verify licensing terms before selling finished products or bundling the design into digital embroidery kits. The listing says “We guarantee that these designs”—but commercial use rights must be confirmed directly with the seller.
Final Thought: A Quietly Confident Design Asset
Floral Spring Illustrations won’t shout—but it doesn’t need to. It fits naturally into the workflow of an embroidery designer, small shop owner, or Etsy seller who values clarity over clutter and craftsmanship over complexity. Whether you’re stitching a personalized gift, building a cohesive line of spring-themed merchandise, or sourcing reliable design assets for client work, this set earns its place in your library not because it’s flashy, but because it’s thoughtful, adaptable, and quietly professional. It reminds me why I still love this craft: sometimes, the most effective design is the one that lets the making—and the maker—shine through.